Every beginning is difficult! There is a so much to consider in beekeeping, which makes it not easy to keep track of everything. Willi Brunner has been a beekeeper for over 50 years. Based on his experience, will he explain the 5 most common issues for beginning (or soon to be) beekeepers and how to tackle them. With Willi’s tips, the start into beekeeping is a guaranteed success!
[ApiGuide]
1. Inspection
In order to manage their bee colonies properly, beginning beekeepers will have to learn to understand the processes happening in their colonies. In this way, one can act in a timely manner when problems arise. This requires regular inspections and careful observations. However, every inspection means stress for the bees, which is why it is said that beginners can kill their colonies by simply looking at them. Unfortunately, it happens quite often that new beekeepers lose a colony in their first year because of «over-inspection».
Willi’s tip
Accompany an experienced beekeeper for one year before you start beekeeping yourself (find yourself a godparent). This will give you some insights into various routine tasks, but you will also get to know special cases such as diseases or queenlessness. In addition, I recommend new beekeepers to check the bottom board and the hive entrance at each inspection.
The bottom board indicates where the bees are located in the hive, the strength of the colony and their activity (by looking at the amount of pollen and wax residues). Furthermore, chalk brood and varroa mites can be used as indicators of their health. By observing the hive entrance, the flight activity and the pollen supply (by looking at the pollen baskets of the bees) can also be determined. So, a lot of useful information about the state of the colony can be obtained without opening the hive itself. If you learn to utilize this, the amounts if inspections can be reduced to an appropriate level. In the end, beekeeping is and always will be a learning process, inspections are part of this process and cannot be entirely avoided.
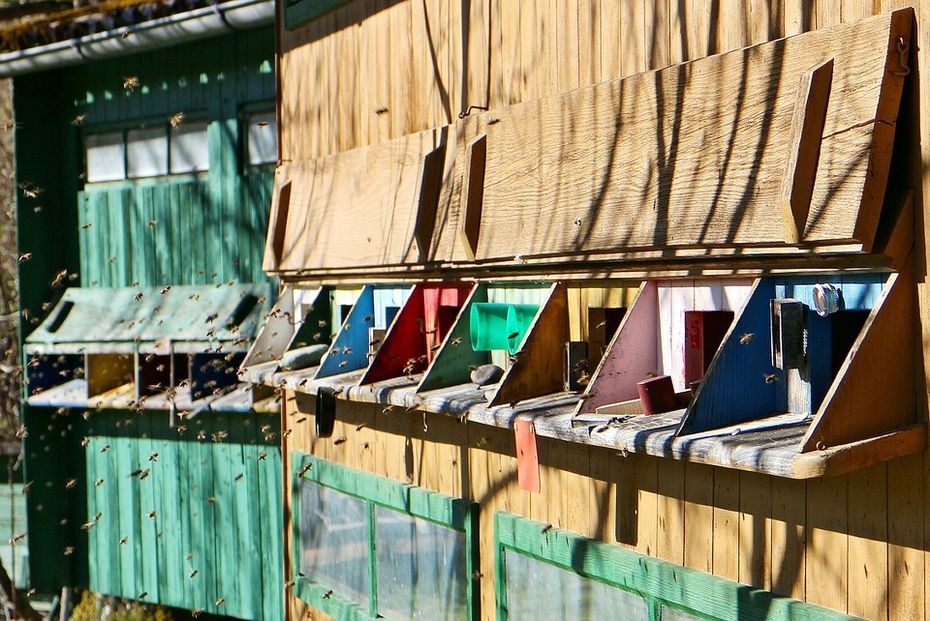
2. Choosing a Hive box
The choice of the right hive box is not easy for most beginning beekeepers, as every system has its own advantages and disadvantages. Especially with limited knowledge of the art of beekeeping, it can be a challenge to evaluate all pro’s and con’s.
Willi’s tip
When choosing the hive box, it can be helpful to seek advice from experienced beekeepers or a leader of beekeeping courses. Further, you should be aware of your main objective as a beekeeper. If you want to adopt a close-to-nature style of beekeeping, you don’t need to buy a Dadant, and if you prefer a sizable honey harvest, you will hardly be happy with Warré. Once you established your own goals for beekeeping, you can look at potential hive boxes from other beekeepers. Whatever box you choose, I would advise to start with only one particular hive box. In the first years of beekeeping there is enough to learn without having to deal with the differences of various hives boxes.
To help your decision on which hive box, we dedicated a whole other ApiGuide article about the selection of the right hive box, which you can read here.
3. Swarms
Catching and resettling swarms is a skill that should be learned. Especially when the swarm is located at an inaccessible place, catching it can be quite a challenge. In the worst case you lose the queen, or the swarm moves out again after you had them settle in your hive.
Willi’s Tip
I spray the swarm with water before putting it in a «swarm box». If necessary, other boxes can also be used, but I advise against using cardboard boxes, because the bees can eat their way through them overnight. I leave the box, with an open flight hole, directly at the place where I caught the swarm until the evening. In this way I give all the bees the time to gather in the swarm box.
If possible, the box should be placed in the shade, if this is not possible, it should be covered with a wet cloth. In addition, the box can be covered with some wax beforehand, this increases the probability that the box will be accepted by the bees as their new home. In the case of swarms that have gathered on the ground or in inadequate places, you can simply put some honey in the box and place it over the swarm. The swarm will then move into the box by itself.
Once the swarm has been successfully captured, the bees should be kept in the cellar for 24 hours without food. Afterwards they can be settled in their new hive box. I recommend hanging 4 combs per kg of bees and to feed the colony with 4 liters of 1:1 sugar water to start. After two weeks the swarm can be sprayed with oxalic acid to fight varroa. Three weeks after settling in, the colony should be checked for queenlessness. If the queen has been lost during the swarming process or has not returned home from the wedding flight (in case of re-swarming), a control honeycomb (a honeycomb of another colony with eggs and young brood) must be added at once. In addition, the comb construction can be checked during the inspection and, if necessary, expanded.

4. Queenlessness
Young queens can be eaten by predators during the wedding flight or return without having mated. Therefore, bees do not always succeed in replacing their old queen successfully. Queenless colonies have an increased risk of collapsing. However, it is often difficult for new beekeepers to recognize weak queens and queenless colonies in time.
Willi’s tip
The laying pattern of the queen should always be checked during inspection. The absence of eggs and young brood indicates a lack of a healthy queen but can also occur after the queen has been replaced without your knowledge or after swarming. In such cases I recommend adding a control comb so that the bees, if necessary, can rear a new queen.
Sometimes eggs can also be found in queenless colonies, because after a certain time without a queen, some workers will start laying eggs. However, these eggs (often several per cell) are unfertilized and serve nothing. So, when you find multiple eggs in a cell, you have a queenless colony! Colonies in which the workers have resorted to laying eggs can hardly be saved. Mostly, the laying workers accept neither the control combs nor artificial added queens.
Therefore, the bees of such colonies should be wiped of their combs (I recommend doing this outside away from the hive location). If it is a very strong colony, the hive box can be returned to the old location, with new combs. The flying bees will then return to the box and a new queen can be brought in in a closed cage (to prevent the bees from balling the new queen). After two days the bees are familiarized with the sense of this queen and the cage can be opened.
Old queens can be recognized by changes in the brood pattern. If a queen’s laying pattern suddenly becomes scattered, the end of her ability to lay fertilized eggs draws near. However, some young queens might also not lay a nice concentrated pattern in their first year, and certain breeding diseases can also cause scattered brood. Therefore, I recommend to take notes of the laying pattern of each colony from the start and to check for diseases at every inspection.

5. Feeding
In order for a bee colony to develop optimally, it should never suffer from a lack of food. However, the food demand changes with the season, the weather, the available flowering plants and the strength of the colony. Feeding is only necessary if the bees do not have sufficient reserves. Estimating the honey reserves in the bee colony and determining the correct amount of food requires some practice and is not always easy for beginners.
Willi’s tip
Honey harvest
Depending on the location, there will gaps of flowering in the summer where the bees have to rely on their food reserves. Therefore I recommend beginning beekeepers to harvest the honey late and not entirely, so the bees can always fall back on their reserves. Over time you will develop sense for how much reserves the bees need during the flowering gap at your specific location. Then the spring harvest can be adjusted accordingly.
Autumn feeding
A colony should have 10 to 20 kg reserves for the winter. Feeding can start immediately after the summer harvest. I recommend to feed each week 5 L 1:1 sugar solution per colony. Since the need of the colony depends on the strength of the colony and their available reserves, each colony should be fed individually. The right amount of food can be found with a simple trick: Two days after the third feeding (after 15 L) I always check the feed reservoirs. Colonies which have completely emptied them within the two days will need to be fed an additional time.
Stimulative feeding / Supplementary feeding
Stimulative feeding in spring is an unnatural incentive for a bee colony, which usually leads to a strong increase in breeding activity, without the corresponding amount of pollen available in nature. The bee population will therefore not develop in harmony with the local weather conditions. So, sometimes less is more!
In some years supplementary feeding can be appropriate. But you should only add your own feeding combs. In outside hive boxes this can be placed at the edge of the hive, with the Swiss hive boxes I recommend to place it directly behind the window.