A marked queen is easier to find and identify. Some beekeepers insist on marking every queen, others do not mark at all. Marking your queen is really about how closely you like to keep track of your colonies. In this article we will give some insights in which situations a marked queen can be useful and how to mark without harming her.
Why should you mark your queens?
Finding your queen can be quite a challenge, especially when you have a strong colony with lots of combs. A marked queen is of course much easier to find and can reduce the time of a hive inspection. The shorter the inspection, the less stress for the bees and the beekeeper.
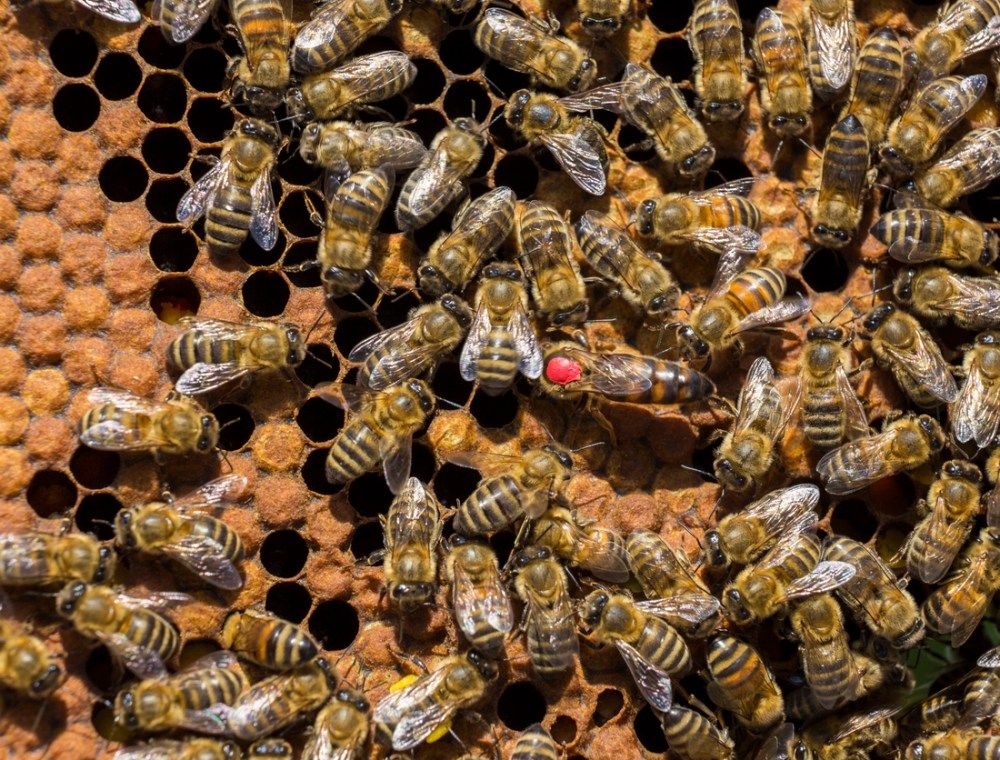
However, for a regular inspection of the hive, visibly seeing the queen is not always necessary. There are many clues which gives you an idea about the state of the colony and the queen. The presence of a nice brood pattern (which means that the brood is not scattered) is clear evidence of a healthy queen. Furthermore, if you see eggs you can be certain that a queen was present within the last 3 days. Any changes in brood pattern indicates that the queen is getting older, died or is replaced. If you find the colony in a particular bad mood or if they are making unusual sounds, it can also be a sign of the absence of a queen (although the mood can also be influenced by the availability of food and weather). An easy test of the presence of a queen is simply by knocking. Put your ear against the hive and give a gently «knock-knock». A stable and happy colony will stay calm. If however your knock is followed by an increase in activity and you hear lots of buzzing, something might be up. There is a good chance the queen has passed away, or that the colony is close to swarming [1].
Nevertheless, if you plan to conduct an artificial swarm or splitting your colony, you might want to locate your queen. In this way you can ensure that your queen stays in your old colony or you can choose to put her in charge of your newly formed colony. Because of this, many advise to mark your queen, or buy queens that have been marked beforehand [2]. However, it has to be noted that you can also choose to split your colonies without a marked queen (as long as you split the brood combs equally). Yes, in the first days you might not know in which colony your queen actually is, but this is only temporary. After a couple of days, you can look at the brood pattern and see which colony has the queen and which one does not. Then you can opt to let the queen-less colony rear new queens themselves or introduce a queen
Besides locating your queen, a marked queen also gives you an indication of her age. Also, if you happen to find an unmarked queen in your colony, you know that your marked queen is replaced. Most queens are marked with a colored dot, but some do prefer to mark by gluing a little disc with a number on it onto the queen. By numbering, you can identify your queen with a 100% certainty. This method is therefore often used in research, as data can easily be linked to a specific queen.
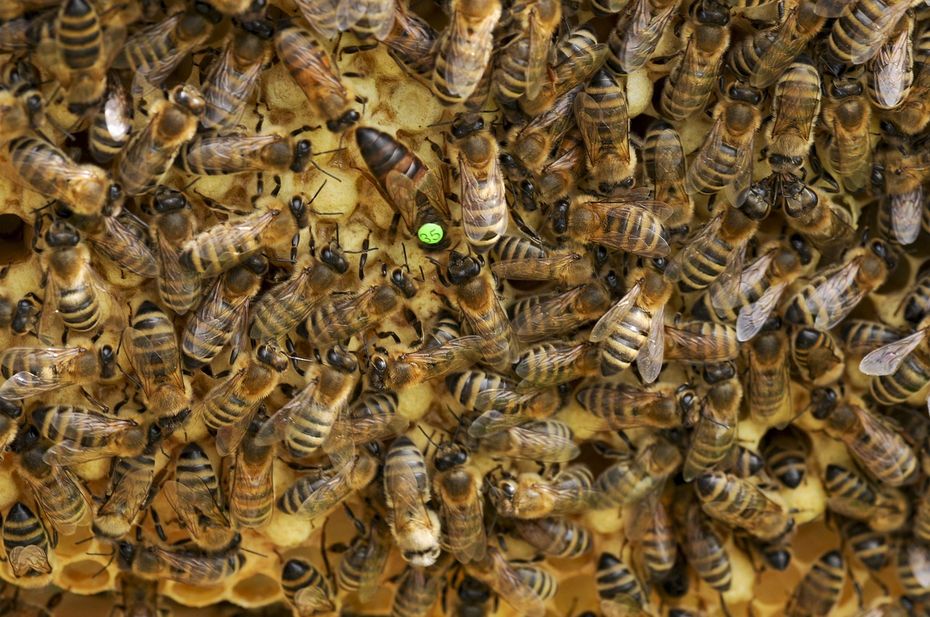
The question you should ask yourself is thus: how close do I want to manage my colony and queen? If you are actively trying to rear your best possible queen, or often split and want to track which queen is in which colony, it can make sense to mark your queens. If not, marking a queen might not be necessary as lots of information can be derived from looking at the brood pattern. Also if you have lots of hives, it might be hard to find the time to mark all your queens.
How to mark your queen
If you decided to mark one of your queens, some measures have to be taken to avoid harming her. Never mark your queens «free handed» which means simply putting a mark on her while she moves around on the comb. You might damage the queen and increase the chance that the bees will supersede her. If you are inexperienced with one of the methods listed below, you can always practice on some drones.
Queen marking color scheme
In the beekeeping community, the following color scheme is used to tell in which year the queen is reared. In this way the age of the queen is easily distinguished. Each color relates to the latest in number of the year in which the queen was reared. For example, a queen reared in 2018 should be marked red, a queen from 2019 green [3].
Color Used in year ending: Example
⬤ White 1 or 6 2016
⬤ Yellow 2 or 7 2017
⬤ Red 3 or 8 2018
⬤ Green 4 or 9 2019
⬤ Blue 5 or 0 2020
This systems allows beekeepers to exchange or sell queens with each other. A queen will normally not live longer than 3 years, therefore this color scheme which repeats itself every 5 years will always work.
Queen marking step-by-step
Marking a queen has to be divided into 4 steps.
Finding the queen
Immobilizing the queen
Marking her
Releasing her
Step 1 – Finding the queen
First, open the hive and find your queen. To make your search for the queen easier, try to mark your queen in spring as there will be less bees around at the beginning of the season. Also, the queen is easier to distinguish on newer bright combs, then on old and darker combs. Lastly, try to use little or no smoke, as this might disturb the queen and she might move to the furthest edge of the hive, which causes you to extract more combs then necessary [1]. When you have found her, take out the comb the queen is sitting on.
Step 2 – Immobilizing the queen
To calmly put a mark on her, you will have to immobilize her. There are different tools for this. First there is the queen catcher, used together with the queen marking tube.
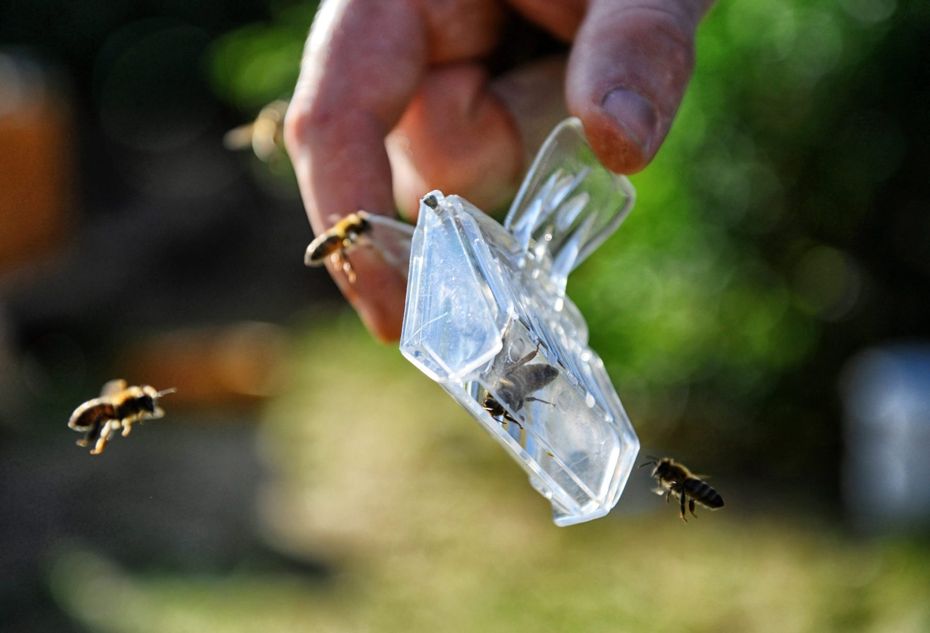
Queen catcher
This is a little cage, either plastic or metal. Open your queen catcher and place it over your queen. Slowly close the catcher and look how she moves. When you are sure the queen has fully moved into the catcher, you can close it. You might have some other bees in the catcher, however the space between the bars is large enough for worker bees to crawl out.
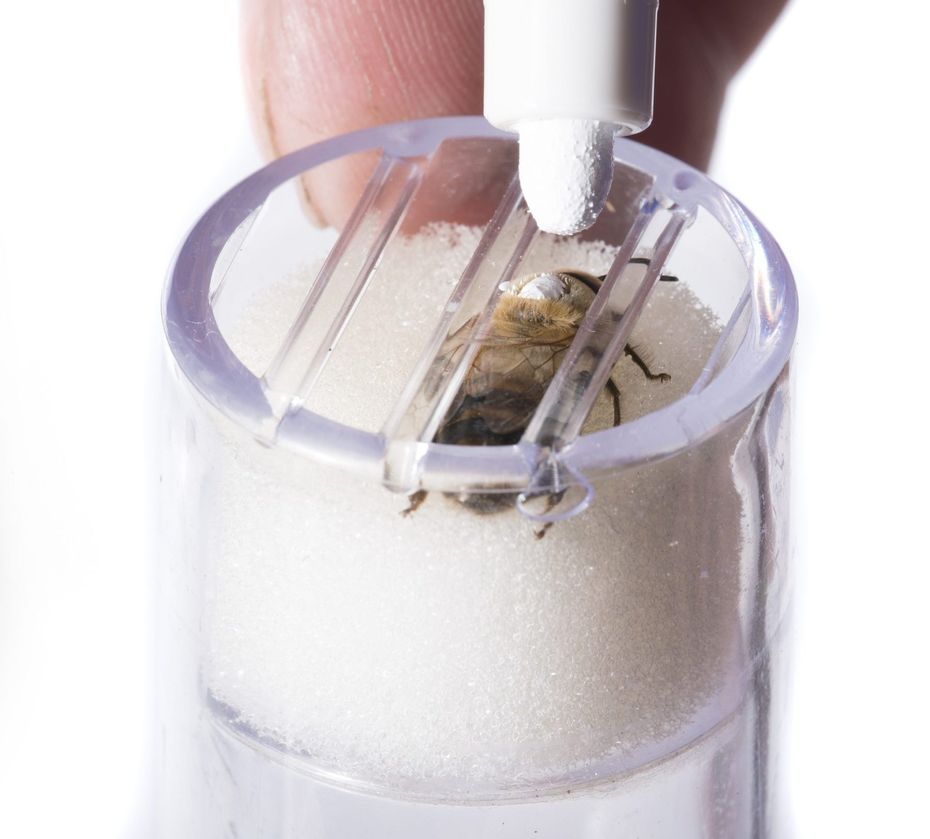
Then pick up your queen marking cage and drop the queen in the tube. Close of the end of the tube with your hand, to make sure the queen does not escape. When the queen moved to the other end of the cage (you can gently shake the tube if she does not move down herself) remove your hand and insert the plunger. Slowly push it upwards to press the queen against the bottom of the tube (without squeezing her of course!). She has to be with her thorax facing upwards. Now you can mark her.
There are also tools that combine the queen catcher and tube in one. These so-called one-handed queen catcher can be easier to use, but it is really a question of personal preference.
Using your hand
Picking up a queen with your hands is pretty straightforward, however it has to be done with care. Always pick up a queen with your bare hands, gloves will make it hard to hold her or she might slip and fall out of your hands.
You can pick her up by one or both of her wings, this will not harm her, however you should do it calmly and controlled. She might move around and curl her abdomen when you do, but she will not be harmed. To make things easier, you can try to pick her up from behind as she is unlikely to see your hand coming. In case you fail to pick her up in the first try, do not get stressed. Wait a moment and let her calm down, if she get stressed and start running around, chances that she might get hurt increase.
Once you picked her up you can either put her in a queen marking tube and proceed just as described above.
Alternatively, you can also grab her by her legs and mark her with your hand. Experienced beekeepers might prefer this, as it can be the quickest way. However, if you are not careful enough you might hurt her legs, as you also need to hold her for a moment as the paint has to be dry before releasing her into the hive.
Push-in marker cage or crown of thorns
The «push-in marker cage» or «crown of thorns» is a ring with spikes, which you can press onto the frame of the comb and trap the queen (and probably also some workers). The advantage of this system is that you do not have to pick up the queen and can mark her on the comb. However this method can be quite impractical, as there is a good chance that you will pierce some bees (or when not careful enough, even the queen herself). The queen is almost always surrounded with lots of bees and they can become agitated. Also, be careful not to remove the push-in marker cage too quickly after you gave your queen a mark, as the paint might still be wet and smelly.
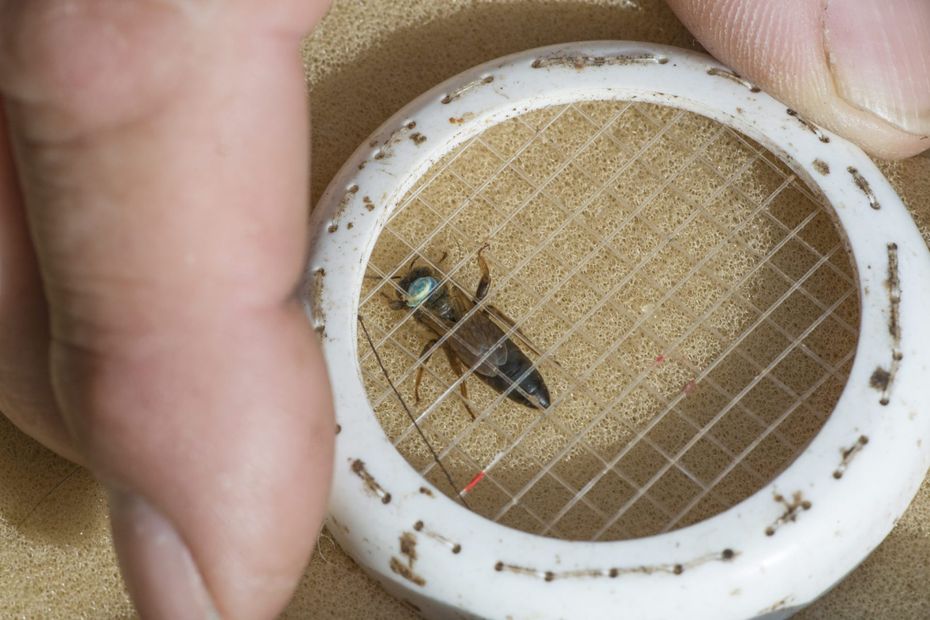
Step 3 – Marking the queen
When marking, it is very important that you mark only on the thorax of the queen. Any other part will harm her. You can buy different «queen marking pens» in different colors. However, you can also use regular water-based pens. When you want to use numbers instead of colors, you will have to glue the little disc with the number onto the queens thorax. Normally the discs can be ordered in packages with fast-drying and non-toxic glue.
Whichever product you use to mark your queens, it is important to let the paint or glue dry before reintroducing the queen to her colony. Failure to do so could result in the queen being rejected or killed due to her unusual smell [2]. Also the paint or glue might were off, therefore wait around 1-2 minutes.
Step 4 – Release her
As with the rest of the process, do this nice and easy. Bring the queen back to the colony and let her walk back into the hive.
Conclusion
Queen marking can be very helpful for spotting your queen easier during inspections. Which method you prefer to use is really a matter of personal preference. So try out different tools to find out which one fits you best. You can easily lend different tools from other beekeepers or through your local beekeeping association, otherwise they are not that expensive to buy. Marking of queen does take some time (especially when you have a lot of hives). And for regular hives inspection you do not need to actually find your queen. But in case you want to closely keep track of your queen, marking can definitely make your job a little easier.
Literature
[1] Zumsteg, R. Ganz im Zeich(n)en der Königin. Schweizerische Bienen-Zeitung. 2016-08. 10-12.
[2] Zumsteg, R. Ganz im Zeich(n)en der Königin (II). Schweizerische Bienen-Zeitung. 2016-10, 12-14.
[3] Sammataro, D., & Avitabile, A. (2011). The beekeeper’s handbook. Fourth Edition. Cornell University Press.