For sure you have heard of mead before, and maybe also tasted the alcoholic, honey drink. Known as the preferred beverage of Vikings, mead has a sweet, floral flavour and is seeing a resurgence in popularity. Simple to produce and requiring few ingredients, it can also make the perfect present for friends and family who want to channel their inner ‘Thor’. Simply explained, mead is honey wine. But at the same time, it is unique. In the words of our in-house master mead maker, Lloyd:
«It’s somewhere between wine and beer, topped with a touch of cider. It is its own category. Smells like flowers, taste similar to sake but with the soft, richness of honey, it is just as versatile and satisfying as beer or wine.»
The saga of Lloyd’s mead education began in Canada, in 2012. As he journeyed around the world to Scotland, England, Germany and now Switzerland, he continuously improved his recipe, trying out different procedures and honey types. The result is a drink that combines years of hard work, dedication, and learning from failures = a simple but rock-solid recipe.
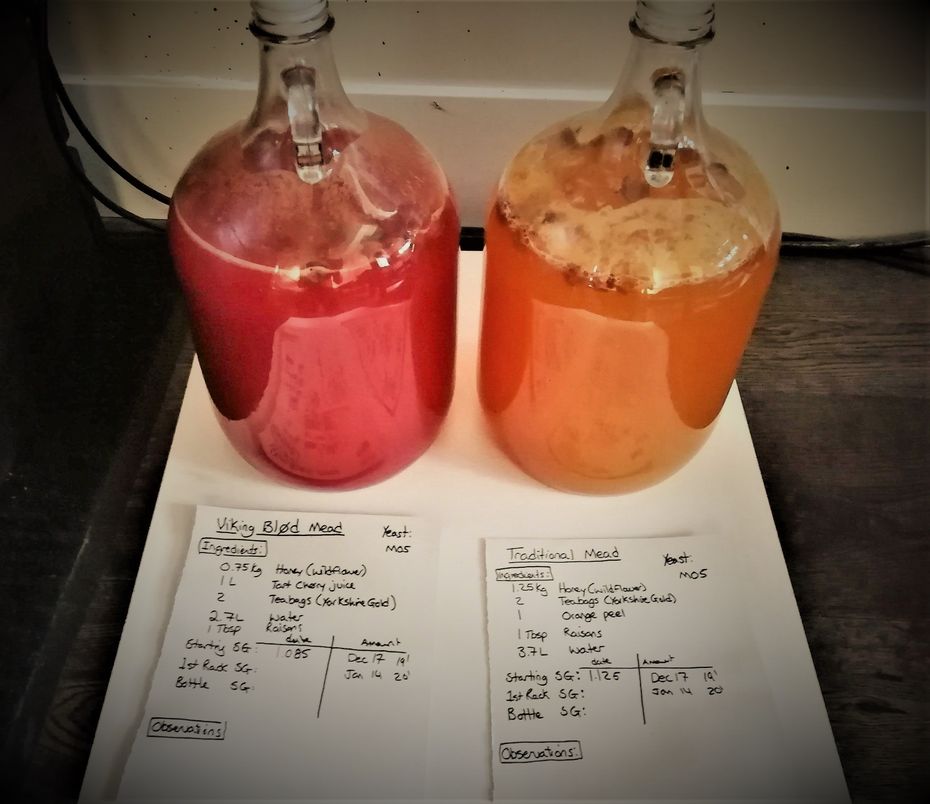
Lloyd’s traditional mead recipe
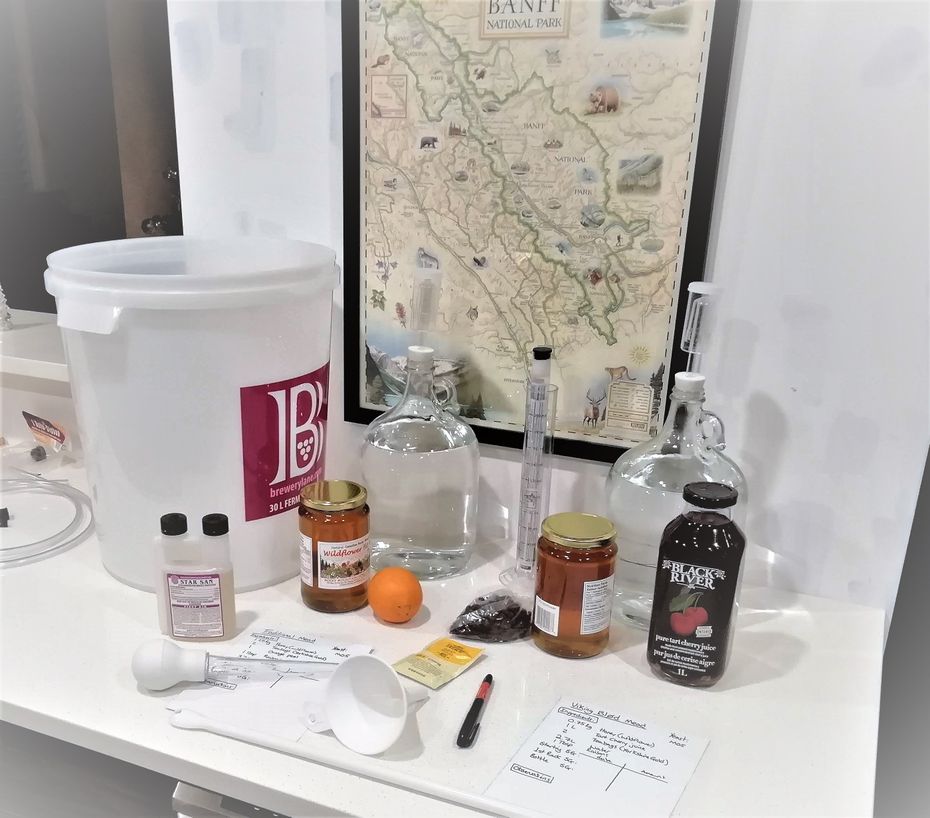
Ingredients1000g Honey M05 Mead Yeast 1 peel Orange 1 teabag Earl Grey 8 Sultans (raisins) ~4l Water |
EquipmentLarge Bucket 2x 1L Jug Stirring Stick Funnel Demijohn (1Gal or ~4l) Airlock Hydrometer + Beaker |

Instructions
Sterilize everything thoroughly using commercial sterilization chemicals (Star Sans, Sodium Percarbonate, Campden Tablets). Layout on a clean towel ready for use.
Place the honey jar in the sink with hot water (or in a pot with recently boiling water).
Pitch the yeast. Place half the packet of yeast in 500ml of lukewarm water (body temp) and set aside to activate.
Create a Tannin Tea: Boil 500ml of water and add Teabag and Orange Peel. Set aside to steep.
Pour 1L of room temp water into the demijohn. Add honey using the funnel to the same Demijohn.
Cork the top (or use thumb and airlock) and shake the honey-water solution vigorously for 10 min. This makes sure all the honey is mixed together as well as oxygenates the water for the yeast later.
Add the Tannin Tea and enough water(~500-750ml) so there is room for the yeast mixture. Cork and shake the mixture to make sure everything is incorporated.
Make sure the water is around body temperature or less. Add the yeast and give one final shake.
Pour out enough of the Must (liquid)to ¾ fill the beaker for the hydrometer.
Measure the gravity of the Must, write it down as your OG (Original Gravity). Should be around 1.090 to 1.130 depending on the honey and if you add more than 1kg to make it stronger.
Pour the beaker back into the demijohn and add the 8 sultan raisins. Cork with the airlock, fill the airlock with water and set aside to ferment.
Check back after a day or two to make sure there are bubbles coming through the airlock. If there is not, then you could add more yeast to kickstart the fermentation.
After 4-6 weeks, there should be no more activity and all the yeast has settled out to the bottom. Using a sterilized syphon, rack off the liquid into another sterilized demijohn, measure the Gravity again with a sterilized hydrometer (write this down as you RG (Racked Gravity). This should now be around 0.980-1.020.
After a week or two, measure the gravity again and if it has not changed from the RG then you can bottle. Write down the FG (Final Gravity). Make sure to use Brewing bottles (recycled beer bottles work just fine) and not the pop-top bottles from Migros (they will explode). At this time, you can back sweeten with a bit of honey if you want (this also helps with carbonation) you can find an online calculator to help determine the amount per volume.
Label the bottles with the date and the ABV% (Alcohol Content). You can calculate the ABV% by taking the (FG-OG) * 131.25 = ABV%.
Set the bottles somewhere dark and out of the way for at least 6 months
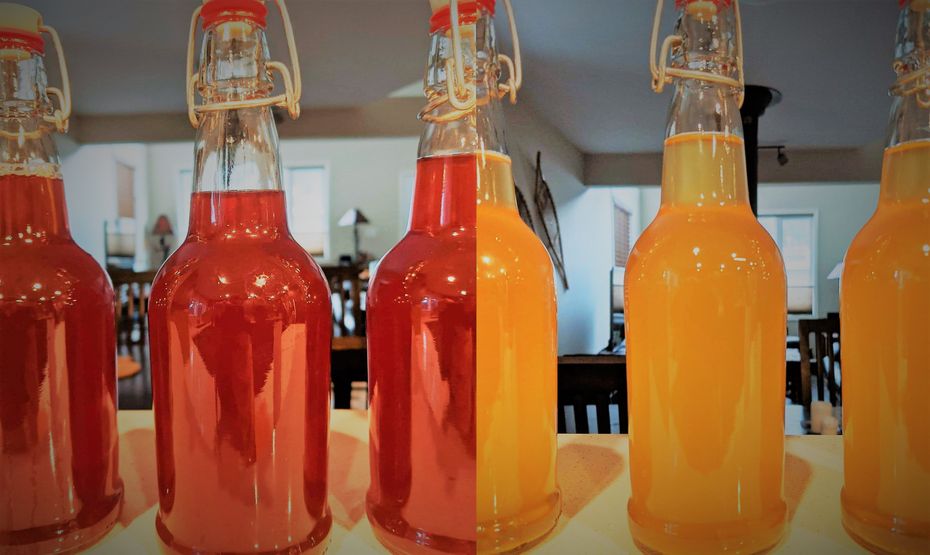
Your mead is ready. Prepare the feast. Skol.

Priceless tips and tricks
If you can, use your own honey. Or at least, avoid buying cheap and low-quality honey. It will damage the quality of the drink.
Be aware of the smell: it is important to smell your mead at every stage, so you can identify any funkiness.
Add more yeast if the mead is not bubbling after one week.
Remember to measure the gravity so you know if the fermentation process has stopped Write down everything! It will help improve your recipe.
Get creative: add some more spices. Be careful though when and how you add them, not to damage the quality of your mead. For the perfect timing of the spices, you can do your own investigation.
Enjoy with pasta, poultry, or cheese and drink it from a white wine glass or for the brave, from an ox horn.

Conclusion
You can’t go wrong by following our simple steps! Remember though to drink responsibly. Mead is a pleasure to make and drink, but with all alcoholic beverages it’s important to enjoy with moderation. Believe us, making your own mead is worth it, and is a trend that’s buzzing around these times, when people are spending most of their time at home. Why not try it? You might become the next big mead connoisseur or discover a new hobby.